Concrete mattress installation requires careful planning, the right equipment, and a systematic approach to ensure long-term structural integrity. Whether you’re lining a canal, protecting a riverbank, or stabilizing a slope, this step-by-step guide covers everything civil engineers need to know.
Phase 1: Site Assessment & Subgrade Preparation
Before any panels arrive on site, assess hydraulic conditions (flow velocity, flood frequency), soil bearing capacity, slope angle, and equipment access routes. Excavate the channel bed or slope to the design cross-section within ±50mm tolerance, removing all organic material.
Install geotextile filter fabric first. Use minimum 200 g/m² non-woven geotextile with filter ratio O90/D85 ≤ 1.0. Overlap joints by 500mm in the direction of flow and secure with U-pins at 1m intervals on slopes steeper than 1:3. Compact subgrade to 95% Modified Proctor density before mattress placement.
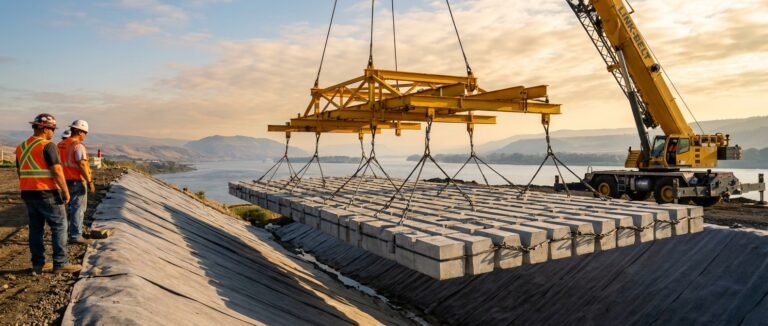
Phase 2: Mattress Handling & Lifting
Inspect each panel on delivery — reject panels where more than 10% of the surface area has cracked blocks, or where the geotextile backing is damaged. Use a purpose-built spreader bar matched to the mattress width, attaching certified lifting slings to factory-installed lift loops. Never lift by the geotextile backing alone. Perform a trial lift to 300mm and confirm the panel hangs level within 5° of horizontal.
Phase 3: Panel Placement
Always start at the downstream end (for channels) or toe of slope (for embankments) and work upstream. Key the first panel into a cut-off trench at least 500mm deep, then backfill with compacted granular fill. Lay successive panels upstream with 150–300mm overlap. Maintain joint gaps under 20mm and check alignment every 3 panels.
Phase 4: Underwater Installation
For submerged placement, anchor the lay barge directly above the work zone. Lower panels at a maximum rate of 0.3 m/s and pause if current exceeds 0.5 m/s. A diver must confirm each panel is flat against the substrate with no geotextile bunching and gaps under 50mm between panels.
Phase 5: Anchoring & Finishing
On slopes steeper than 1:2, install 600mm galvanized ground anchor pins through panel eyelets at 2m centres, or pour concrete anchor blocks at the top-of-slope. Complete the installation with a GPS survey recording top-of-mattress levels on a 2m grid and producing as-built drawings.
Common Mistakes to Avoid
- Skipping the filter geotextile — causes piping failure and settlement
- Installing downstream to upstream — flow will undermine panel edges
- No toe key trench — mattress slides off slope during floods
- Gaps greater than 20mm at joints — vulnerability to hydraulic uplift
- Installing in current over 0.5 m/s — risk of misplacement and injury
Concrete Mattress Applications
Proper installation technique varies by application. Explore our detailed guides for the most common use cases:
- Canal Lining with Concrete Mattress — smooth channel surfaces, self-cleaning flow velocities, and filtration requirements
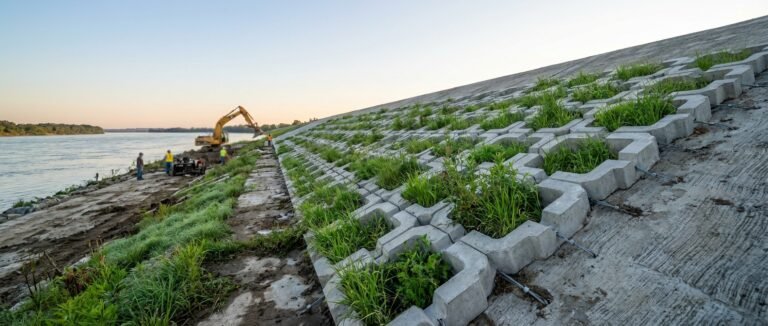
- Slope & Embankment Protection — anchor depths, slope angle limits, and vegetation joint infill guidance
- Bridge Pier Scour Protection — apron sizing, toe trench depths, and underwater placement around structural elements
Get Technical Support from HydroBase
HydroBase provides project-specific installation specifications for all concrete mattress orders. Share your flow velocity, slope angle, and application type and our engineering team will deliver a tailored spec within 48 hours. Contact us to get started.
Need a concrete mattress solution for your project?
HydroBase provides end-to-end concrete mattress engineering & installation services — from hydraulic design and factory-direct ACM supply to on-site supervision and post-project inspection. Trusted by civil engineers in 50+ countries.